Cat’s Final Designs: MoMo Cowls
CAT’S ONE DOZEN MAGICAL MOMO COWLS buy the ebook buy the printed book What is a MoMo Cowl? It’s a magical solution to a Moebius


CAT’S ONE DOZEN MAGICAL MOMO COWLS buy the ebook buy the printed book What is a MoMo Cowl? It’s a magical solution to a Moebius
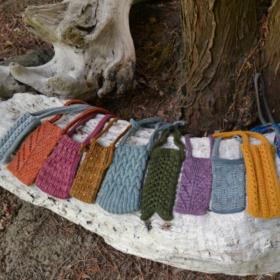
Cat Bordhi’s Collection of Portable Pockets and Small Gifts buy the ebook Welcome to Cat Bordhi’s Collection of Portable Pockets and Small Gifts. Sometimes
buy the ebook Purchase this eBook for $20 with all 25 patterns and live video links. This ebook is a set of 9 Folios,

Ravelry: Annaguy1956
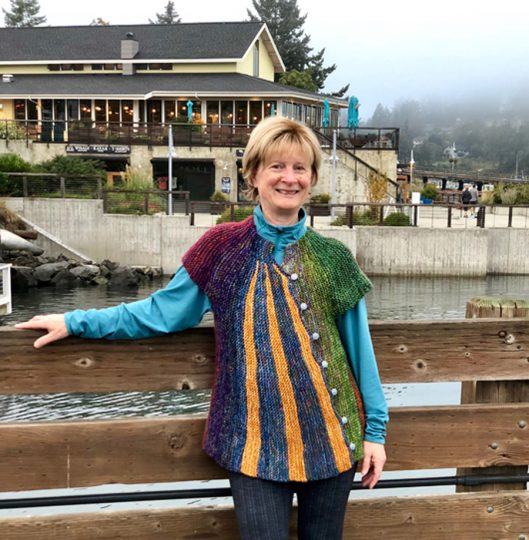
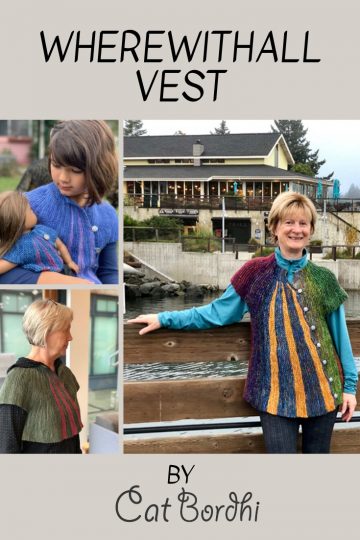
Yarn Used: HiKoo Sueno, 1 skein of mountain fog, 1 skein of bashful, 1 skein of plum and 1 skein of slated. Each skein is 255 yards. 2. Caron Simply Soft from my stash, unsure of quantities, used 10 colors. Tips: 1. Followed original pattern except for 1. 2 decrease wedges and 2 decrease wedges; 2. the very end where I completed last wedge and cast off using 3 needle bindoff, didn't do the unique wrong side row. 2. I cast on 120 stitches, adding an extra 20 stitches because I wanted it longer and wider, adding an extra w&to to each wedge making it wider. At the end I completed the last wedge, then repeated row 1, then the unique WS row before 3 needle bind off. 6-1-3-1-6 wedges. For the description of the K-below I would add the word /through after the word into.